Install to APP for Android/Chromebook
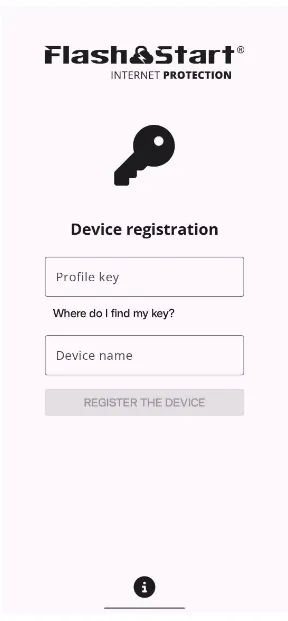
1. Download the app from Play Store and open it. 2. You will be required to input the Security Key (the “Security Key” is a Key associated with the user navigation profile. It is needed in order to register the App on the cloud, and so that the App can be associated to the chosen navigation profile). Where can you find the Security Key? You can find it here.
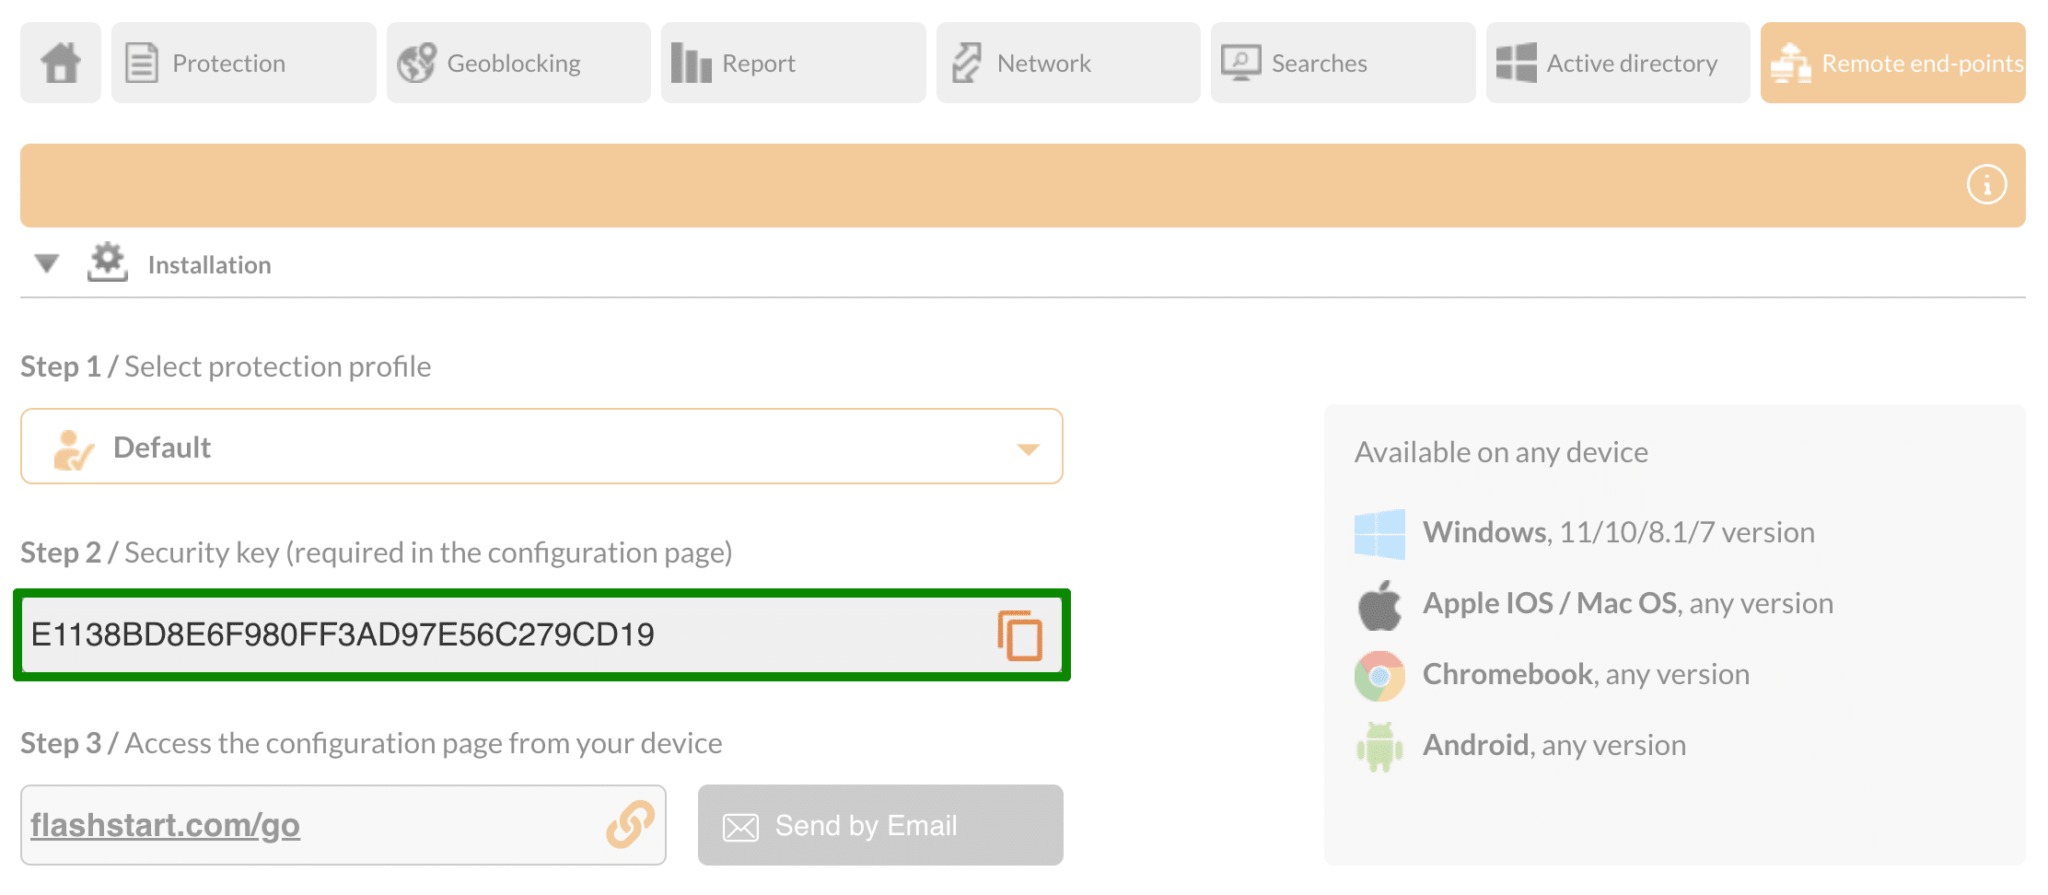
3. In order to proceed with profile registration, copy and paste the Security Key and type into the “Description” field the client name that will appear in the protection management panel.
4. Click on “Enable protection” to configure the protected VPN on the device. (Note: Consent to the authorization of the VPN configuration).
5. Wait for the protection to become active.
6. Congratulations! Your device is now protected!
Important Device Settings
To ensure continuous and uninterrupted protection, please verify your Android battery optimization settings. Make sure they are not set to be too restrictive, as this might force the system to close the app in the background. Furthermore, you must enable the Always-on VPN feature specifically for this application by navigating to your device's network settings.
How to change the navigation profile after registration
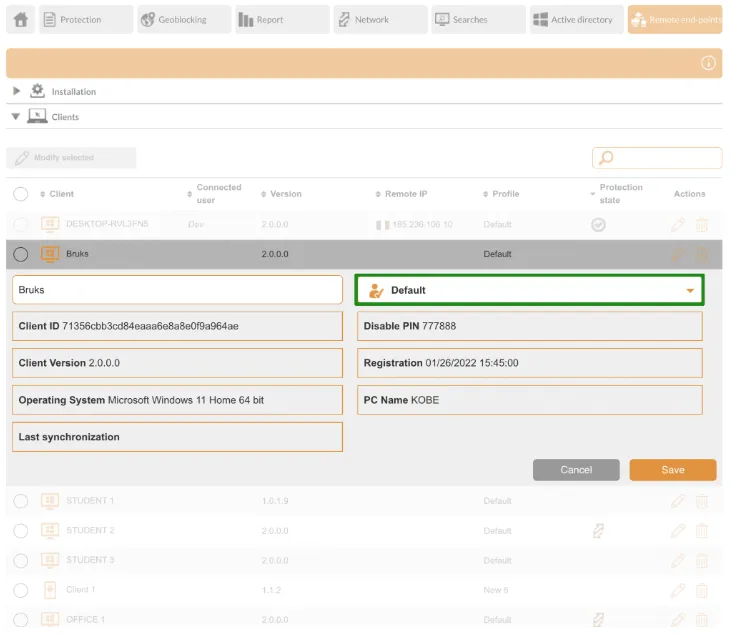
1. Access the panel for protection management here.
2. Open the “Clients” tab and click on the pencil.
3. Change the client profile and click on “Save”.
How to disable Android protection
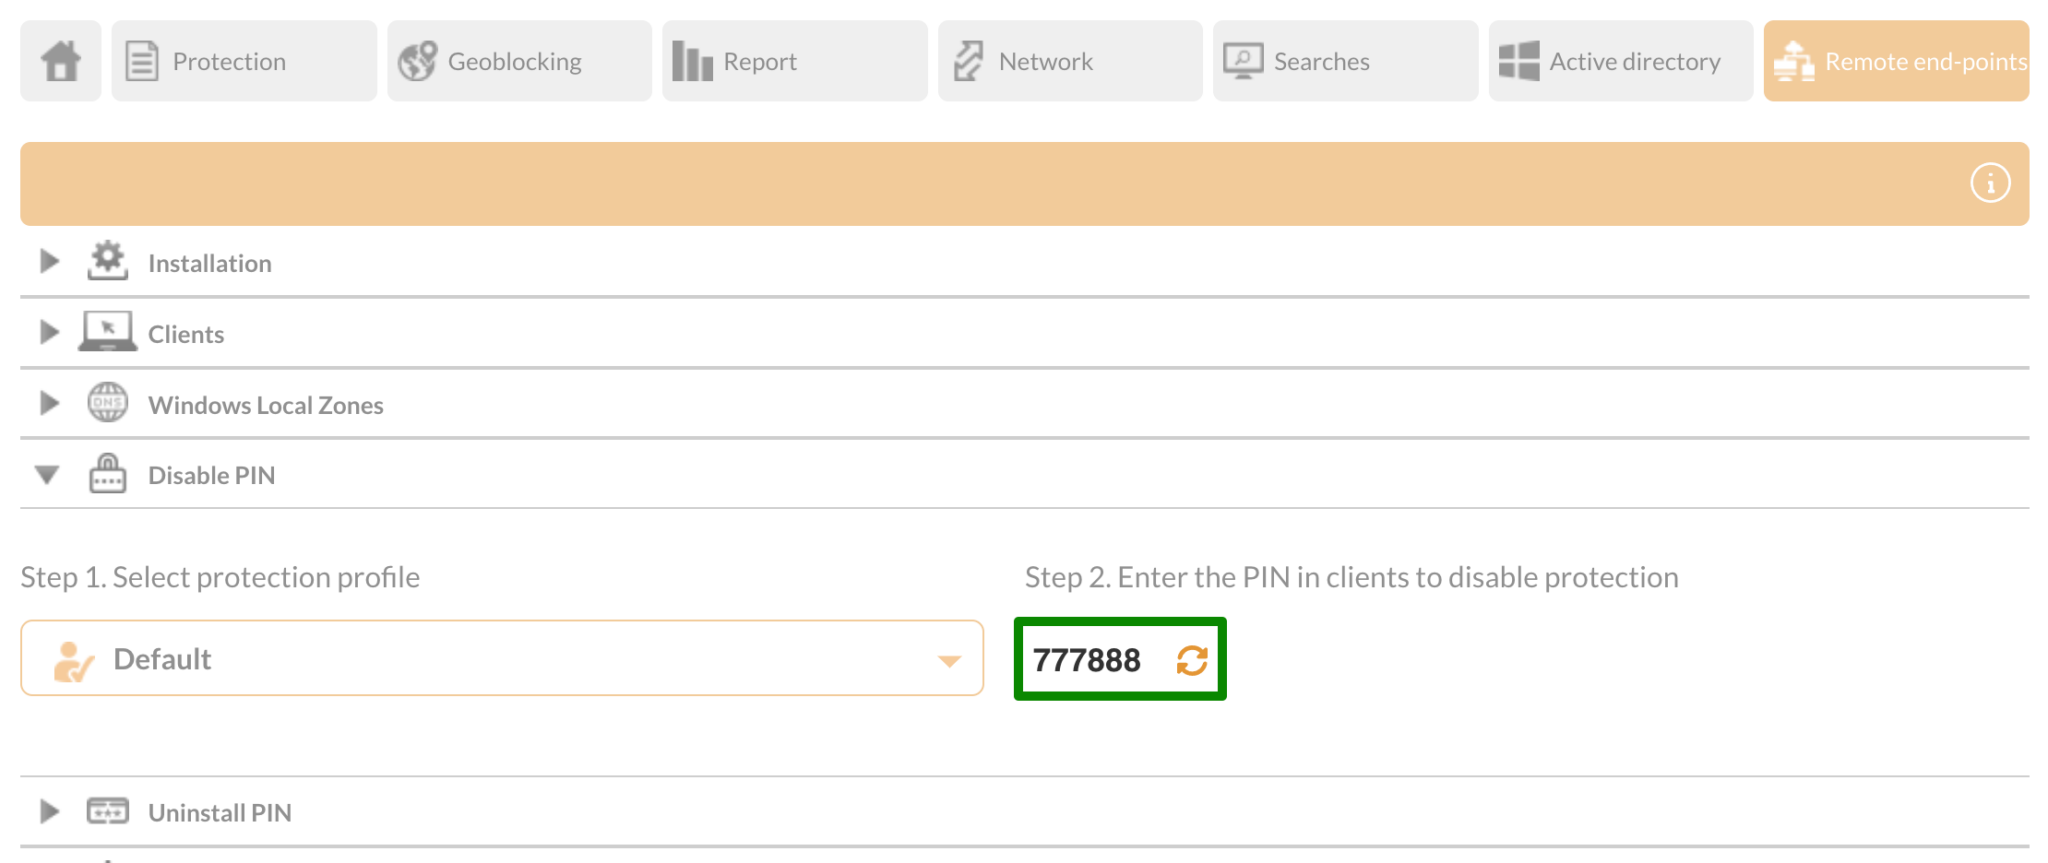
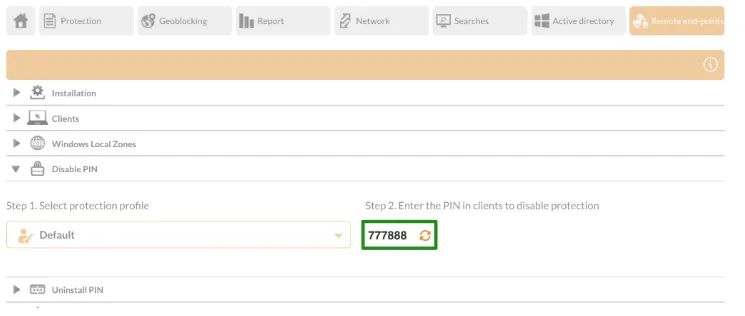
In order to disable the mobile protection, use the “Disable PIN” that you can find here.
Notes
You are advised to use App Locker in order to prevent the removal of the app. The app is programmed to remain always connected to the VPN once it is activated. When the app is restarted / turned off / updated, it will automatically connect to the VPN network.
Internet Protection for Android
When the application is started, a unique ID is assigned to the user's device, which is necessary together with the profile key to register to the cloud panel. For a quick and practical search from the panel, the description field allows us to enter an identification name.
After successfully registering your device, you will need to provide authorization to start the VPN trough the ACTIVATE SECURITY button. Once the authorization is given, you will go to the status page where the connection to the VPN service will begin.You will be notified about the connection and the status page will be updated. The status page tells you that the device is now protected! From here we can obtain information about the user and the IP by clicking on the information button. To proceed with closing the VPN protection,you must click on "Disable protection" and will be redirected to the disabling page. Here, you have to enter the numeric PIN that disables the protection and you will be redirected to the final status page, which will also notify us through a notification that the device is no longer protected.. With a simple click on "ACTIVATE SECURITY" a new VPN connection will be established and the device will be protected again.
How to protect your device from disabling the app?
The application has been designed to always stay connected to the VPN once activated. When restarting / shutting down / updating the application it will automatically connect to the VPN network. It is advisable to be aware of the App Locker usage to prevent the application from being uninstalled, thus the only way to disable the connection is to enter the PIN inside the application.
How to Access Debugging Logs
This advanced procedure allows you to record application activities to help technical support diagnose complex anomalies.
- Click the "i" icon inside the application.
- Tap the application version 7 times quickly to unlock a hidden system menu.
- Select the newly appeared Developer options on the screen.
- Enter the Debug logging section and enable the toggle located in the top right corner.
- Go back, use the app normally, and replicate the exact problem you are experiencing so it can be recorded.
- Return to the Debug logging menu and click the Send all button to automatically transmit the log files to [email protected].
- Disable the toggle in the top right corner to stop the recording and return the app to standard operation.
Other ways to ask:
- How to configure ClientShield for Android.
- Configuring ClientShield for Android. How to.